


在 Azure AKS 上部署 KubeSphere
本文演示在 Azure Kubernetes Service 上部署 KubeSphere 的步骤。
准备 AKS 集群
Azure 可以通过提供自动化部署资源功能从而实现基础设施即代码的能力,常用的工具包括 ARM templates 和 Azure CLI。在本指南中,我们将使用 Azure CLI 创建安装 KubeSphere 所需的所有资源。
使用 Azure Cloud Shell
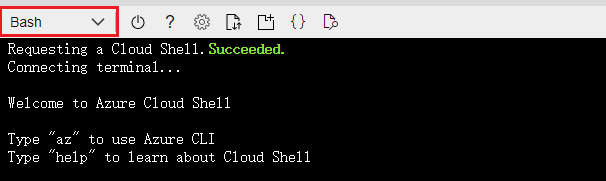
由于 Azure 提供了基于 Web 的终端,因此您不必在计算机上安装 Azure CLI。单击 Azure 门户右上角菜单栏上的 Cloud Shell 按钮。
![]()
选择 Bash Shell。
创建资源组
Azure 资源组是在其中部署和管理 Azure 资源的逻辑组。以下示例在westus区域中创建一个名为KubeSphereRG的资源组。
az group create --name KubeSphereRG --location westus
创建一个 AKS 集群
使用az aks create命令创建 AKS 集群。以下示例创建一个名为KuberSphereCluster的集群,该集群具有三个节点,需要等待几分钟完成。
az aks create --resource-group KubeSphereRG --name KuberSphereCluster --node-count 3 --enable-addons monitoring --generate-ssh-keys
备注
--node-vm-size或-s选项来更改 Kubernetes 节点的大小,默认值是 Standard_DS2_v2(2v CPU,7GB 内存)。有关更多选项,请参见 az aks create。连接集群
为了能够使用 kubectl 操作该 Kubernetes 集群,需要执行az aks get-credentials命令,该命令下载 Kubernetes CLI 将要使用到的凭据和配置。
az aks get-credentials --resource-group KubeSphereRG --name KuberSphereCluster
查看节点信息
$ kubectl get nodes
NAME                                STATUS   ROLES   AGE   VERSION
aks-nodepool1-27194461-vmss000000   Ready    agent   77s   v1.17.13
aks-nodepool1-27194461-vmss000001   Ready    agent   63s   v1.17.13
aks-nodepool1-27194461-vmss000002   Ready    agent   65s   v1.17.13
在门户中检查 Azure 资源
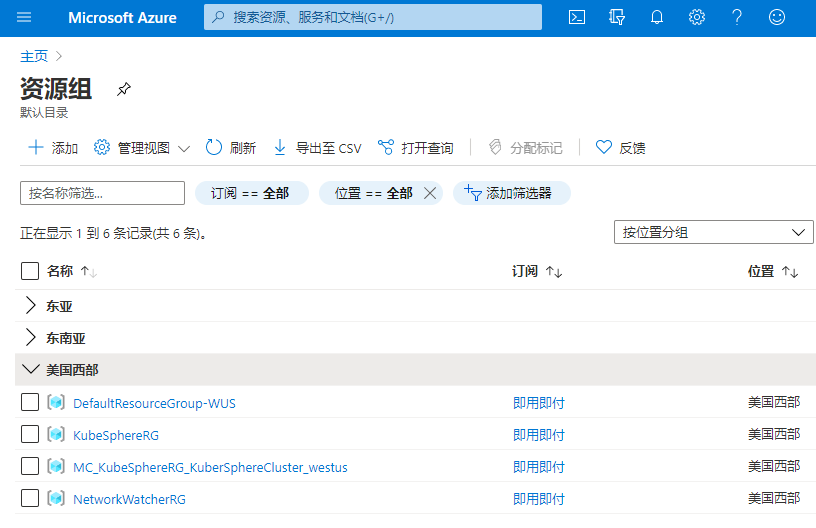
执行完以上所有命令后,您可以看到在 Azure Portal 中创建了 2 个资源组。
查看资源组详情
$ az group show --resource-group KubeSphereRG
{
  "id": "/subscriptions/6017690f-c286-4a8f-123e-c53e2f3bc7b5/resourceGroups/KubeSphereRG",
  "location": "westus",
  "managedBy": null,
  "name": "KubeSphereRG",
  "properties": {
    "provisioningState": "Succeeded"
  },
  "tags": null,
  "type": "Microsoft.Resources/resourceGroups"
}
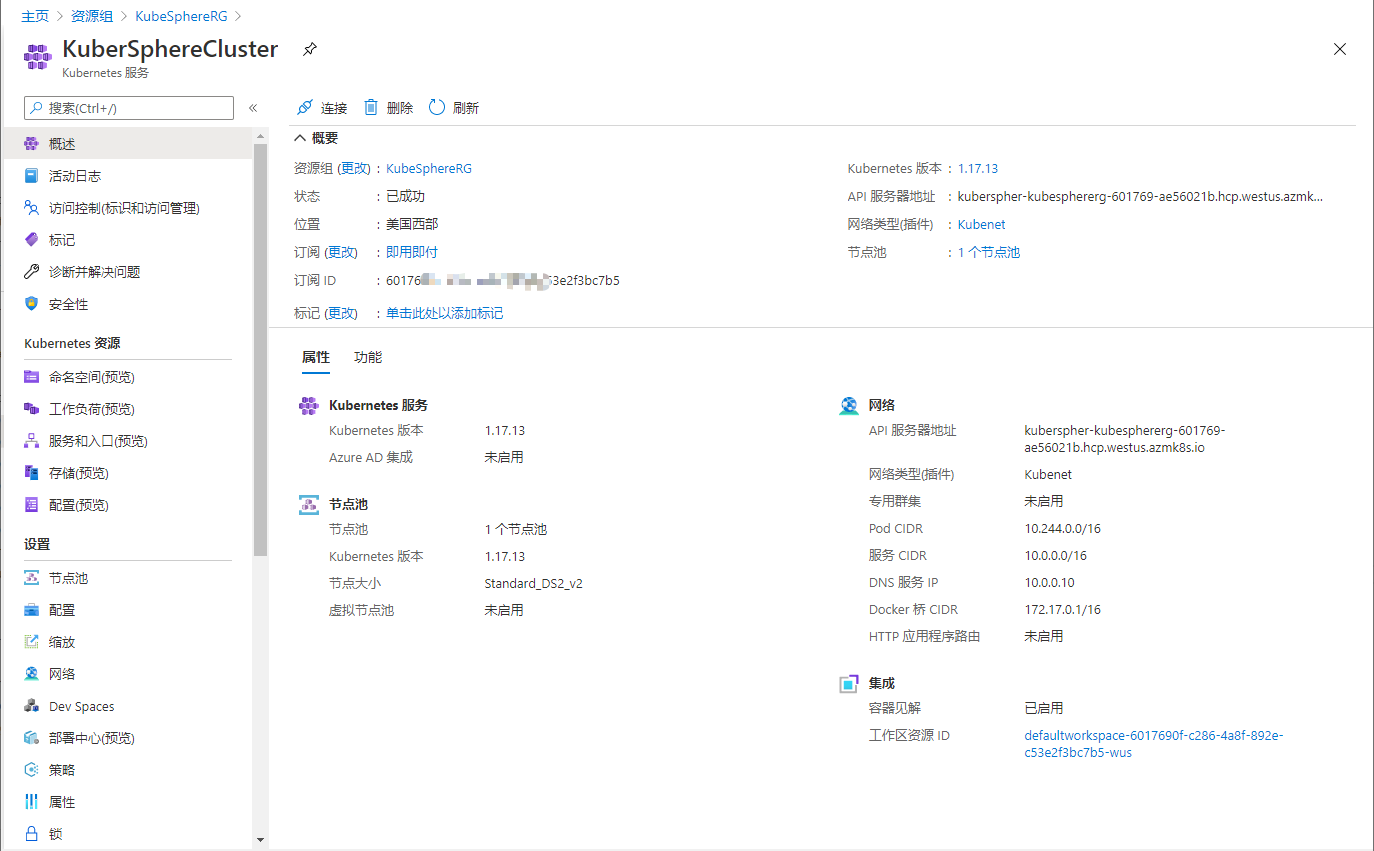
Azure Kubernetes Services 本身将放置在KubeSphereRG中。
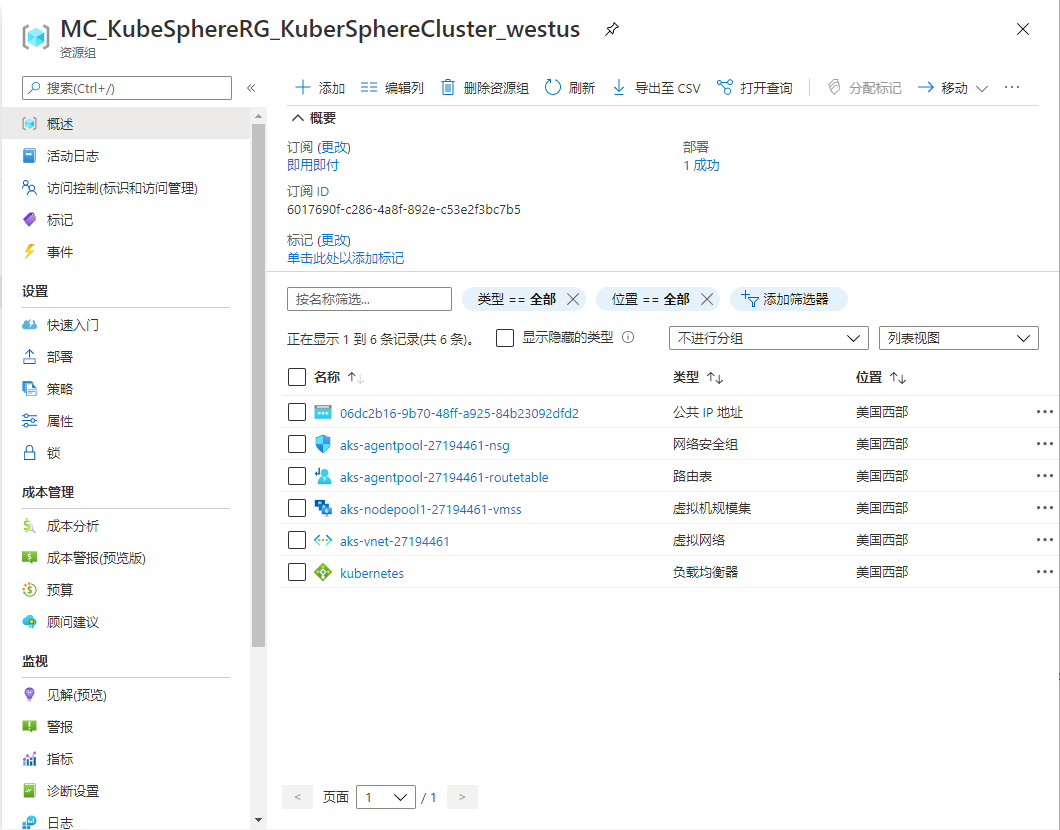
所有其他资源都将放置在MC_KubeSphereRG_KuberSphereCluster_westus中,例如 VM,负载均衡器和虚拟网络。
在 AKS 上部署 KubeSphere
请使用以下命令开始部署 KubeSphere。
kubectl apply -f https://github.com/whenegghitsrock/ks-installer-carryon/releases/download/v3.3.2/kubesphere-installer.yaml

kubectl apply -f https://github.com/whenegghitsrock/ks-installer-carryon/releases/download/v3.3.2/cluster-configuration.yaml
可以通过以下命令检查安装日志:
kubectl logs -n kubesphere-system $(kubectl get pod -n kubesphere-system -l 'app in (ks-install, ks-installer)' -o jsonpath='{.items[0].metadata.name}') -f
访问 KubeSphere 控制台
要从公共 IP 地址访问 KubeSphere 控制台,需要将服务类型更改为LoadBalancer。
kubectl edit service ks-console -n kubesphere-system
找到以下部分,并将类型更改为LoadBalancer。
spec:
  clusterIP: 10.0.78.113
  externalTrafficPolicy: Cluster
  ports:
  - name: nginx
    nodePort: 30880
    port: 80
    protocol: TCP
    targetPort: 8000
  selector:
    app: ks-console
    tier: frontend
    version: v3.0.0
  sessionAffinity: None
  type: LoadBalancer # Change NodePort to LoadBalancer
status:
  loadBalancer: {}
保存 ks-console 服务的配置后,可以使用以下命令获取公共 IP 地址(在下方 EXTERNAL-IP)。
$ kubectl get svc/ks-console -n kubesphere-system
NAME         TYPE           CLUSTER-IP    EXTERNAL-IP   PORT(S)        AGE
ks-console   LoadBalancer   10.0.181.93   13.86.xxx.xxx   80:30194/TCP   13m       6379/TCP       10m
使用 external-ip 地址用默认帐户和密码(admin/P@88w0rd)访问控制台。
启用可插拔组件(可选)
上面的示例演示了默认的最小安装过程,对于可插拔组件,可以在安装之前或之后启用它们。有关详细信息,请参见启用可插拔组件。
反馈
这篇文章对您有帮助吗?
通过邮件接收 KubeSphere 最新的技术博客与产品更新的通知
感谢您的反馈。如果您有关于如何使用 KubeSphere 的具体问题,请在 Slack 上提问。如果您想报告问题或提出改进建议,请在 GitHub 存储库中打开问题。
 上一篇
上一篇
